


When it comes to painting, the key to a great final product is to follow a few essential steps. It’s easy to think that slapping some paint on the walls will do the trick, but the truth is that proper preparation is the secret behind a professional looking paint job. In fact, there is a golden rule to follow that will ensure your DIY painting project delivers the results you envision: PREP!
- Prep!
- Be patient!
- And (again) PREP
1. Preparation is Everything
The importance of preparation can’t be overstated. Skipping this crucial step can leave visible flaws, uneven coverage, and frustration. A little effort at the beginning will set the stage for an outcome that will make you proud. Read It’s All in the Prep to know why!
2. Pick Your Paint
Before you begin, make sure to choose the right paint for your project. Refer to the article Painting a Path and Using Paint to Change Perception to learn how to select the best color and finish for your space, taking into account factors like lighting, room size, and the desired atmosphere.
3. Prep the Walls
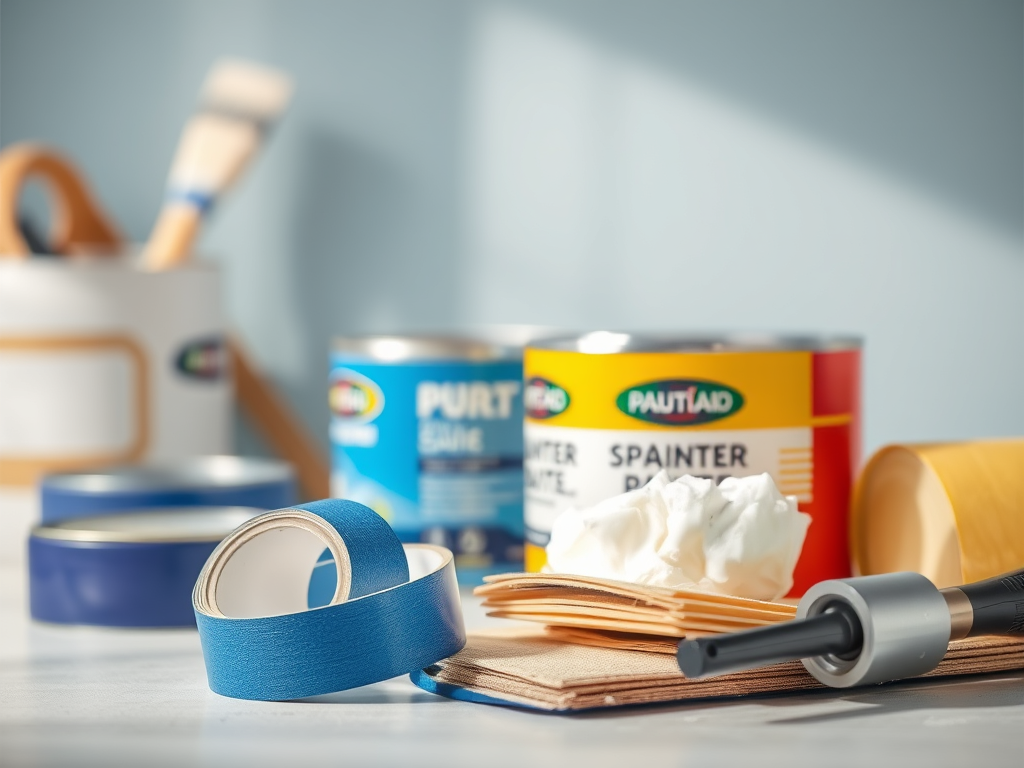
If your walls have any imperfections such as holes, dents, or cracks, address them before you start painting. For small imperfections, spackling paste works wonders. For larger areas or older homes that may have settled over time, you may need to use mudding. For mudding, apply a thin layer of mud to any damaged areas, let it dry completely, and then smooth it with fine-grit sandpaper. This process ensures you have a smooth, even surface, setting the foundation for a seamless paint job. If there are only smaller imperfections, consider using an all-in-one product like this patching product for convenience and efficiency: Wall Chapstick.
If you are unsure about the difference between spackling and mudding, click here to learn more about when and how to use each one effectively. Or visit It’s All in the Prep for more detailed information for a pro-like finish!
4. Tape off the Areas You Don’t Want Painted
Before you start painting, it’s essential to protect the areas you don’t want to paint. Use painter’s tape on trim, door frames, and any other areas. Additionally, cover floors and items remaining in the room with drop cloths or tarps to avoid accidental splashes. If you’re worried about painting your windows or mirrors, consider using a liquid masking product, like Jasco Strength Liquid Masking Primer, to protect those surfaces. (With this cool tool, you brush it on, paint your area and then grab a razor and peel off the mask!) For more resources on how to properly tape off a room, go to Online Tools for DIYer to watch tutorial videos.
5. Painting Process
When transforming a room, I recommend painting both the trim and the walls to make a striking, cohesive change. Start by painting the trim first. Once the trim is done, move on to the walls. By doing it this way, you avoid the hassle of taping off areas around the trim when you start painting the walls (since you are painting over the walls anyhow). This method can save time since precisely taping off is very time consuming.
6. Label Your Paint
Once your painting is done, it’s time to label the paint cans for future touch-ups. It may seem like an unnecessary step now, but after a few months or years, you’ll appreciate the ability to quickly identify which paint color was used where and when. Write down the paint color, the room it was used in, and the date on the lid of the paint can and the front of the paint can. This simple act can save you a lot of time when you need to do a quick touch-up. And when you pour the remaining paint back into the can, make sure to pour from the side opposite where you’ve written your notes.
Go and Paint!
Following the steps above will set you on the path to a beautiful and paint job that will transform your space and leave you feeling accomplished. With a little preparation, patience, and attention to detail, you’ll see that a fresh coat of paint is one of the easiest and most cost-effective ways to update any room. Now that you have some quick tips, go grab that brush! But which brush? Don’t worry, spend some time reading All About Paint Brushes to get started!
Pro Tip: Please always dispose of unwanted paint correctly! You can get paint hardener packets at any hardware store or where paint products are supplied. You may not know that you can also mix kitty litter with paint you are disposing with the same result.


Leave a Reply